Getting started
Part 1: Run rosbridge and roboySimulation
source path-to-roboy-ros-control/devel.setup.bash
roslaunch rosbridge_server rosbridge_websocket.launch
rosrun roboy_simulation VRRoboy
Part 2: Open the project in Unity
Unity is organized in Scenes. In order to watch the simulation in Unity which is running on the VM or on another machine(in gazebo), open the RoboyViveScene.
Part 3: Setup the scene
In the Scene you can observe the simulation from the VM within Unity. To do that you need to communicate the IP adress of your VM towards the ROSBridge. The IP information is quickly found in Ubuntu by clicking on the two arrows pointing in opposite directions, right next to the system time. Afterwards a drop down menu will open, click on connection information. Remember the IP and paste it in the respective field in Unity.

You also need to drag the roboy prefab onto the RoboyManager if it is not already done. Each roboy model is tagged as a RoboyPart. If you import new models for roboy you need to change the tag accordingly and change the roboy prefab.

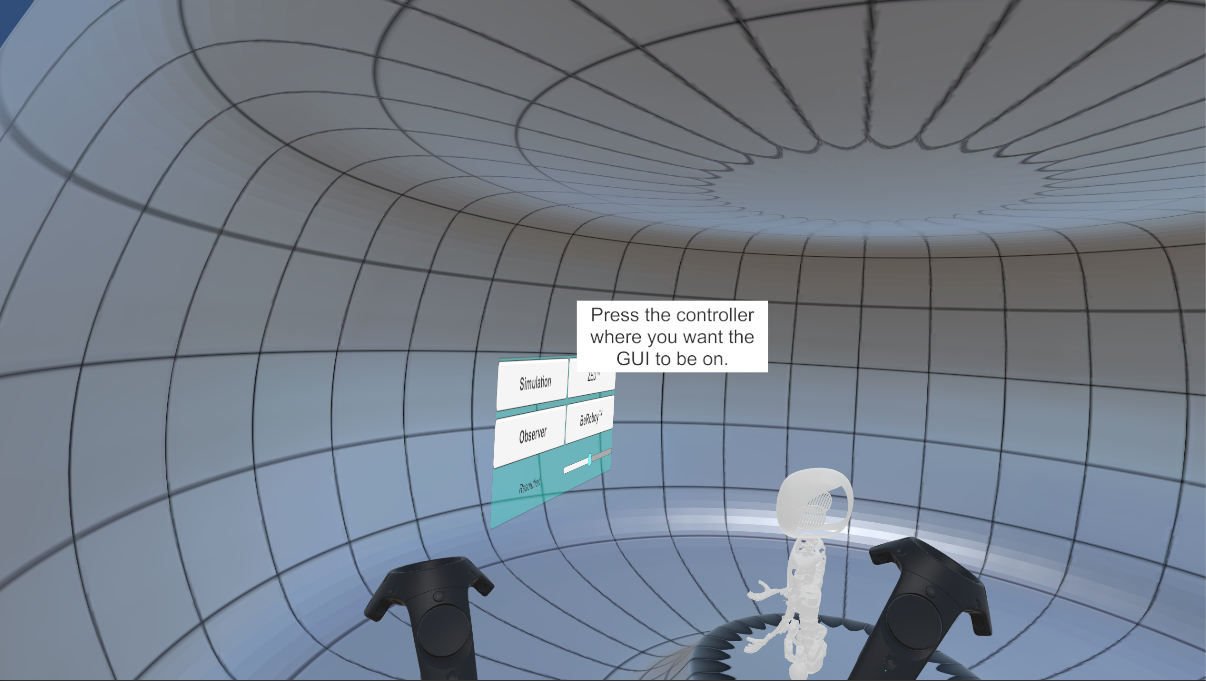
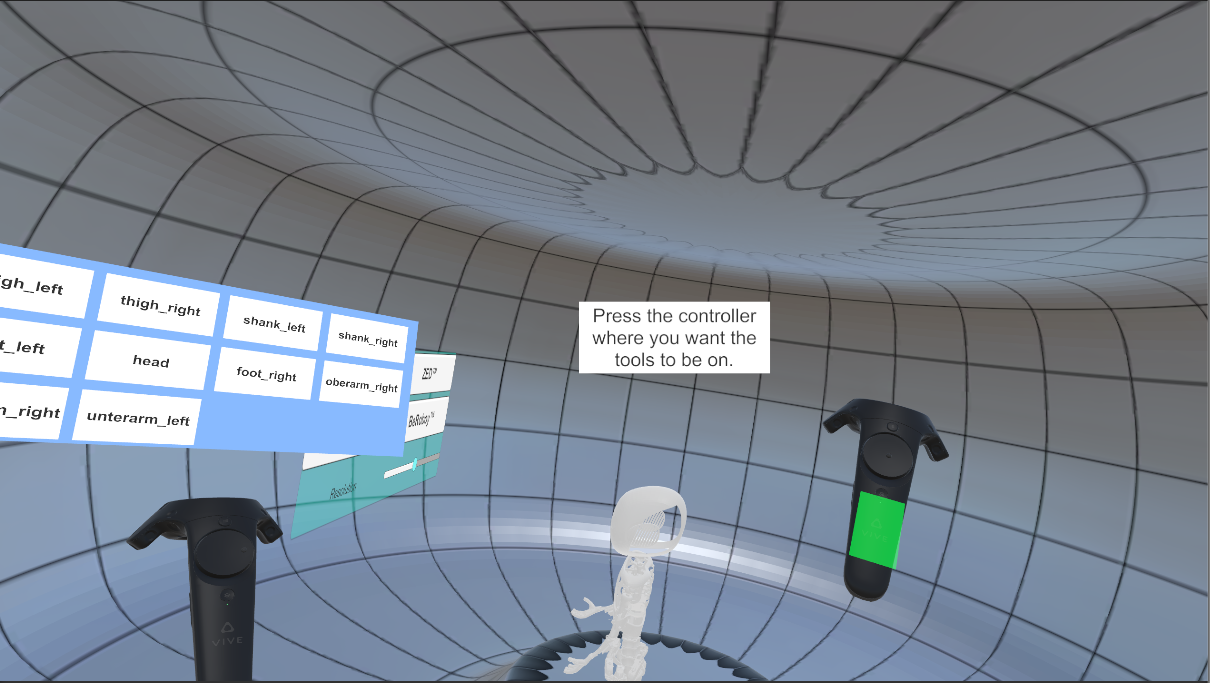
You can reset the simulation with the R key or with both grip buttons on the Vive controller of the GUI Hand. You can also change the key in RoboyManager. Just follow the instructions on the screen to setup the controllers.
- To get a better view of the simulation we recommend to set the simulation to slow motion in rviz in the VM:
- If you want to start rviz, open a terminal (in the VM) and simply type rviz
- Set Fixed Frame to World (Displays->Fixed Frame)
- Add a marker (Add(Button)->marker)
- Add walking plugin (Panels->Add New Panel->WalkingPlugin)
- Turn slow motion on (within the walking plugin, it is a toggle button)