User’s Manual
This manual will descripe the steps required to start BeRoboy™ and begin your journey.
Starting Gazebo
Start your Ubuntu machine and open a terminal.
- Source the setup.bash
source /path-to-roboy-ros-control/devel/setup.bash
- Start the launch file which starts Gazebo with the Roboy and a Camera ROS node
roslaunch roboy_simulation roboy_camera.launch
If yout want the insert/remove feature to work, also launch this in a seperate terminal, source the same path as before though.
rosrun roboy_simulation VRRoboy
Starting Unity
- Start the unity project inside the git repo you cloned to your hard drive.
- Inside unity select the RoboyVR scene.
- In the ROSBridge (located in the hierarchy) type in the correct IP of your Ubuntu machine.

- Start the scene.
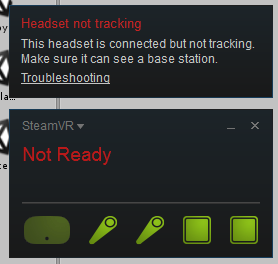
- SteamVR should also start, if this throws errors (like “SteamVR unresponsive, not working, etc.”), simply restart it.
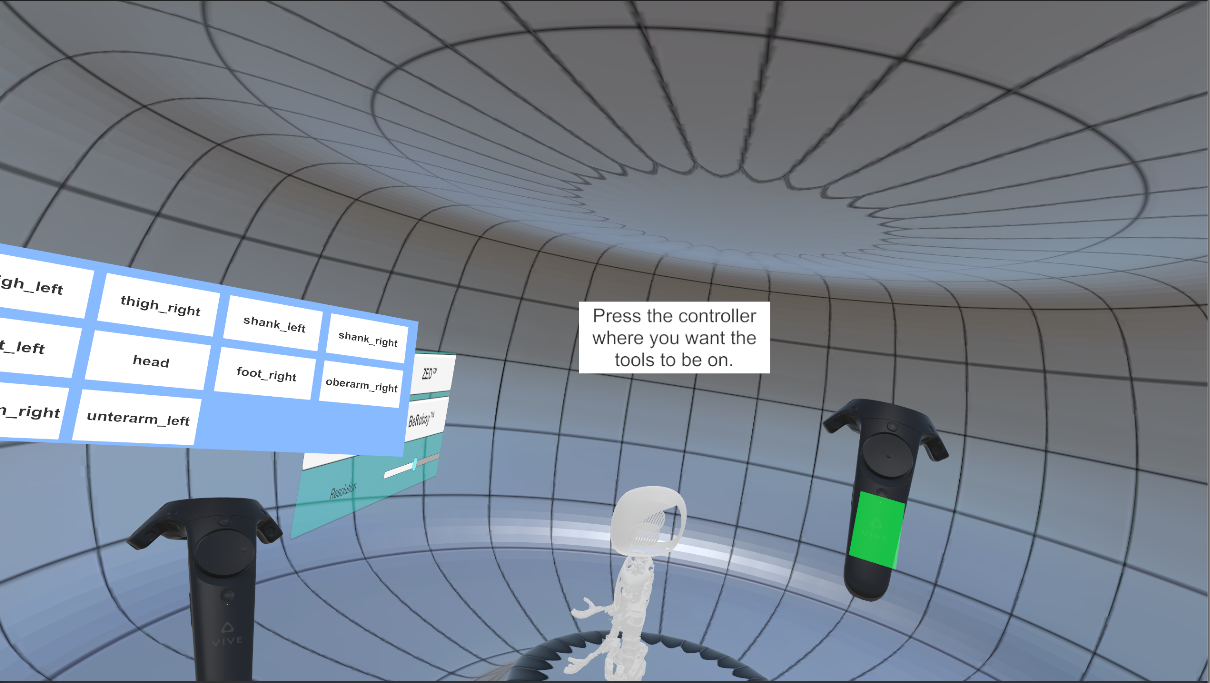
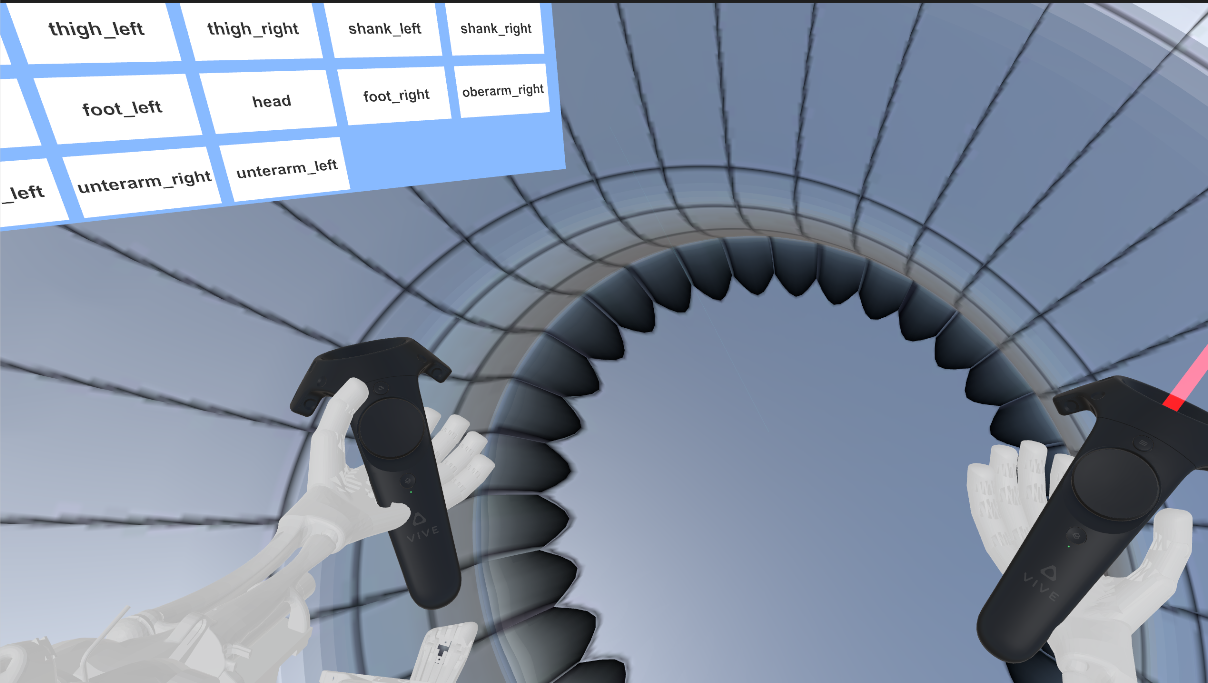
- When the scene starts properly, you can choose which controller should hold which tools.
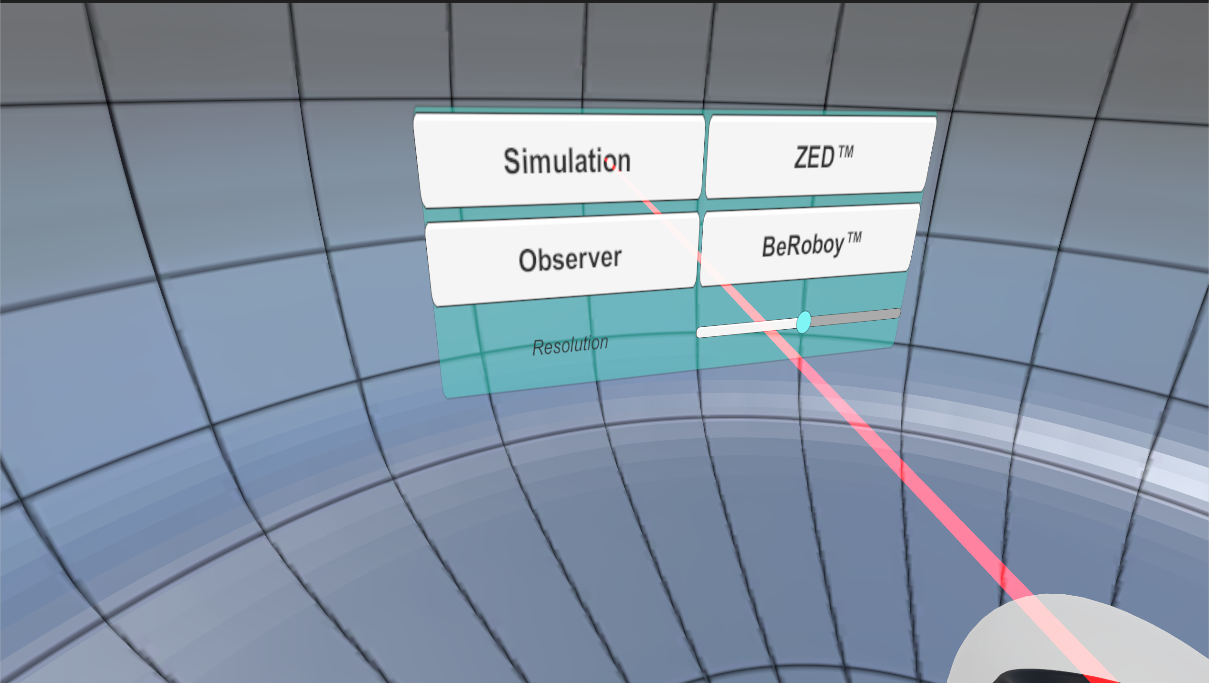
- After the controller assignment, you can switch between various view modes via a selection menu in the scene.
- Enjoy your stay!
View Scenarios
You can choose between the following four view scenarios, each of them offering different things to explore!
I. Gazebo Simulation
Take control over the simulation Roboy and see what he does in gazebo.
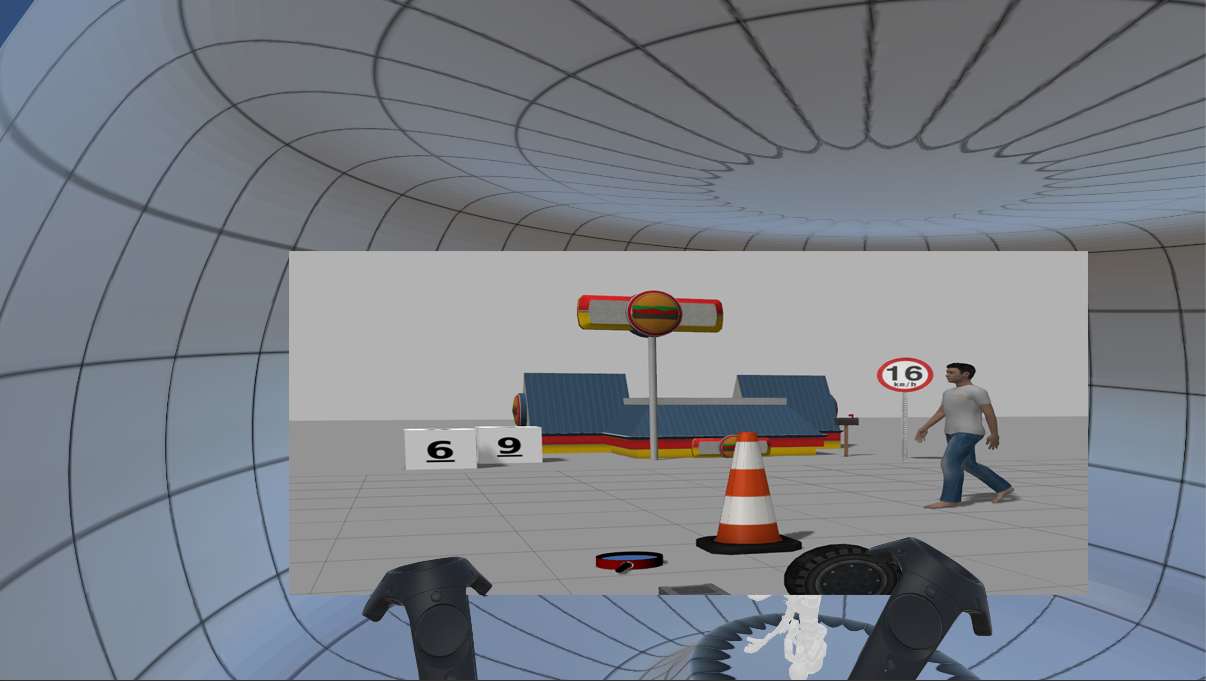
II. Real Roboy (ZED)
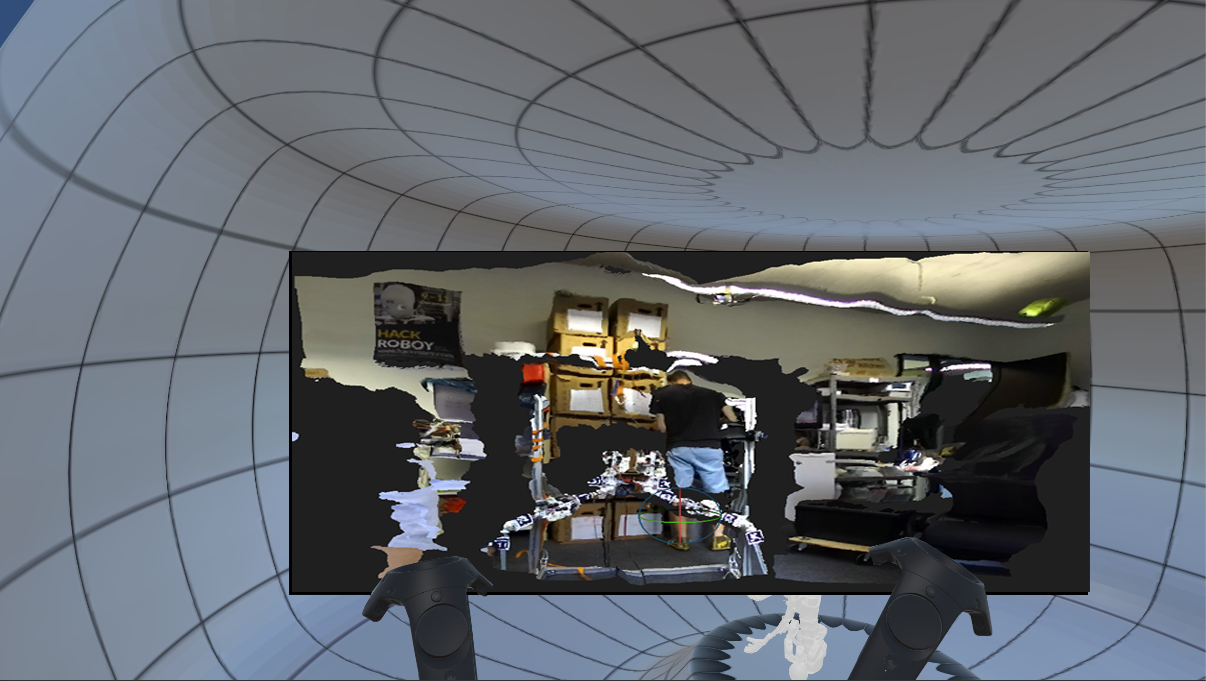
Look through the eyes of the real Roboy and control him in real life.
III. Observing Gentleman
Sit back, relax, take a look at Roboy from a safe distance and watch him do some stuff.
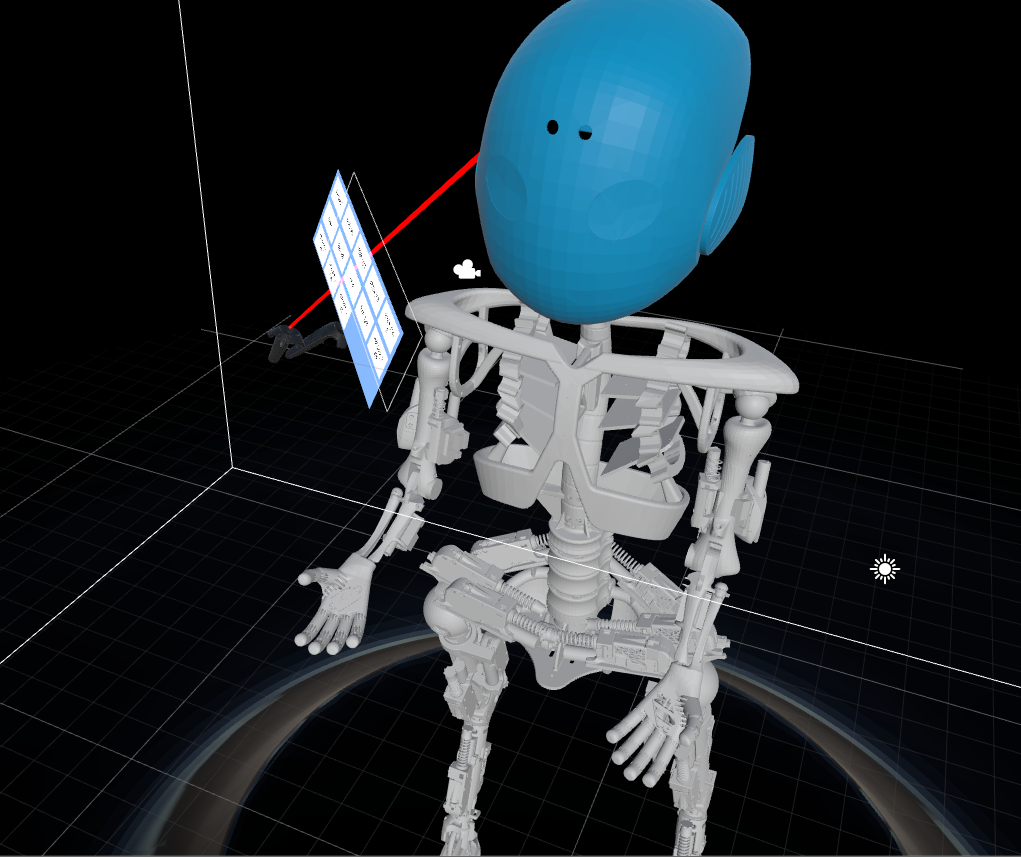
IV. VR Roboy
Slip into the role of the true VR Roboy, cause mayhem or look cute, you decide.